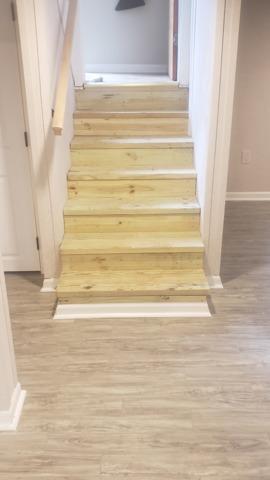
The Finished Basement
The finished basement stairs. They look so clean and bright with the rest of the finished basement.
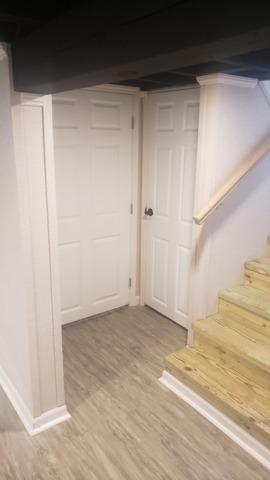
The Finished Basement
The finished basement stairs and doors to the laundry area and to a storage closet.
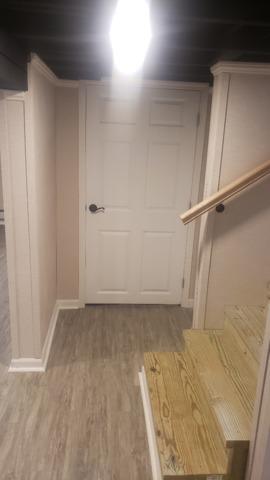
The Finished Basement
The finished basement stairs and doors to the laundry area and to a storage closet.
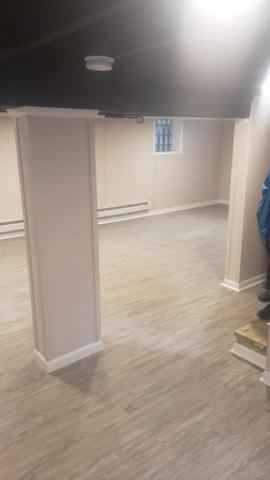
The Finished Basement
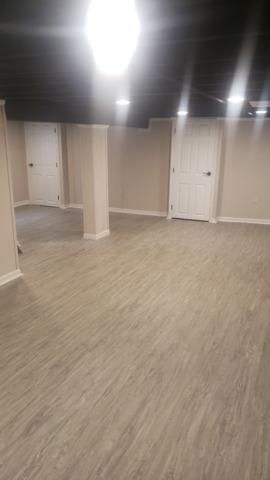
The finished basement. The pole wrap that you see covers a double support pole, so it is wider than the standard wrap.
The Finished Basement
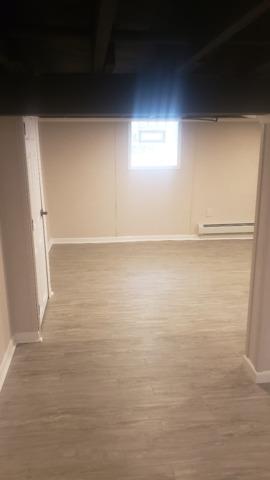
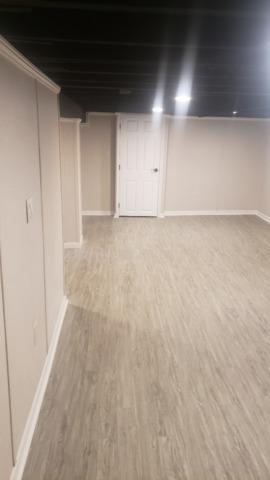
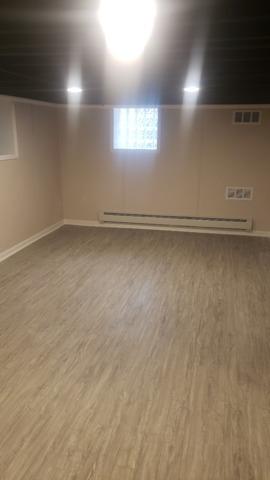
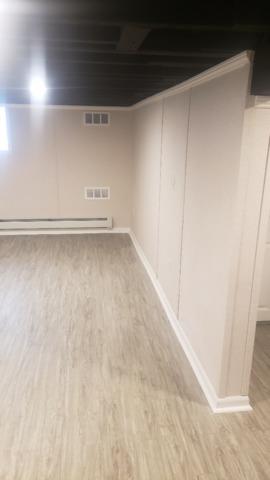
The finished basement. Our EverLast Wall Panels and grey Thermal Dry Elite Plank Flooring brighten up this basement space!
The Finished Basement
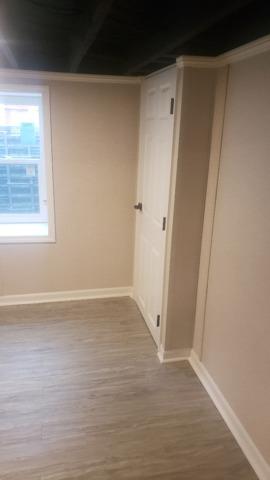
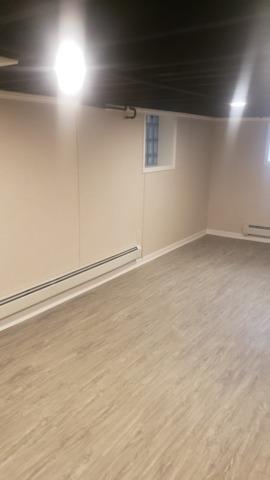
You can see how much light the new Egress Window lets into the basement, and how nice our classic 6-Panel Door looks against our EverLast Wall Paneling and our Thermal Dry Elite Plank Flooring.
The Finished Basement
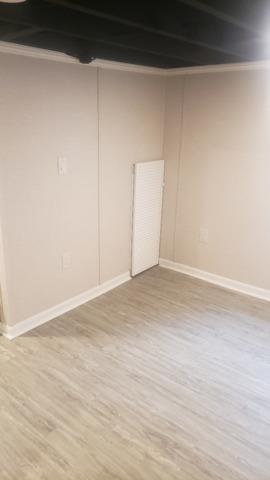
This is a small access panel that will let the homeowners get to a utility pipe that couldn't be moved. We can normally incorporate an access panel like this in your basement when it is finished.
The Finished Basement
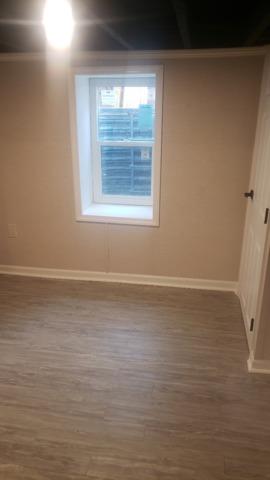
The finished and installed Egress Window.
The Finished Basement
The finished basement. Our EverLast Wall Panels and grey Thermal Dry Elite Plank Flooring brighten up this basement space!
The Finished Basement
The finished basement. Our EverLast Wall Panels and grey Thermal Dry Elite Plank Flooring brighten up this basement space!
The Finished Basement
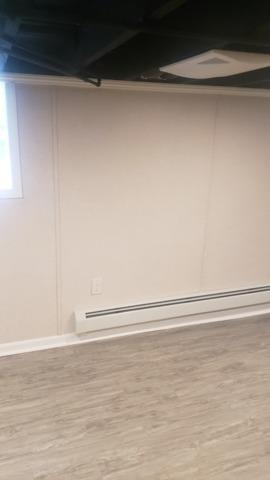
The homeowners wanted to upgrade their basement heating system to make it more comfortable to be in the basement in our Western New York Winters. We worked with our electrician to install baseboard heat for them, and our EverLast Wall Panels will hold up to the heat better than drywall could!
The Finished Basement
The finished basement. Our EverLast Wall Panels and grey Thermal Dry Elite Plank Flooring brighten up this basement space!
The Finished Basement
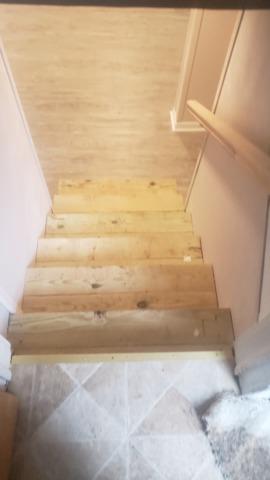
The landing in the kitchen goes down to the finished basement. The Thermal Dry Elite Plank Floors look wonderful.
Nearly Finished
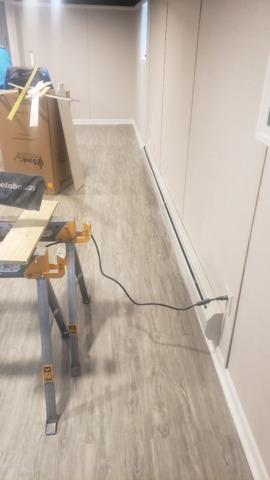
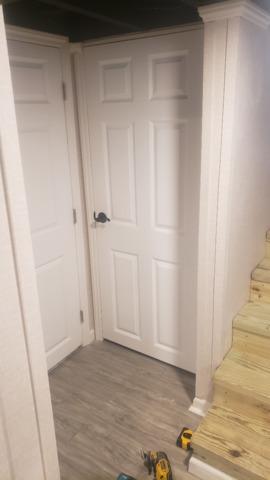
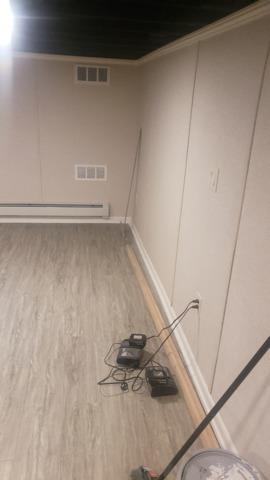
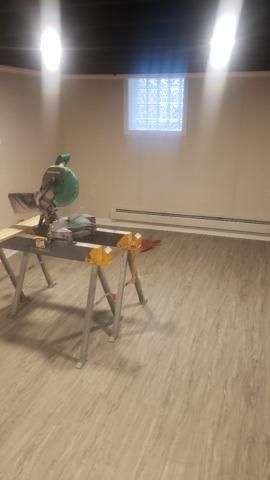
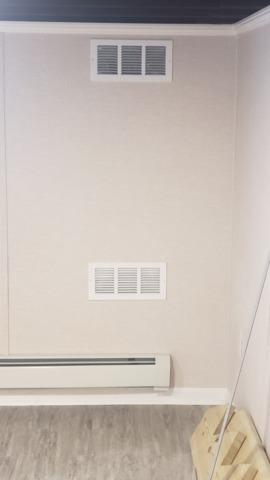
Our Installation Crew is installing trim, the basement is nearly finished. The EverLast Wall Panels are fully installed and have a clean, cream finish, and the Thermal Dry Elite Plank Floor has also been installed and looks perfect.
Nearly Finished
Our Installation Crew is installing trim, the basement is nearly finished.
Nearly Finished
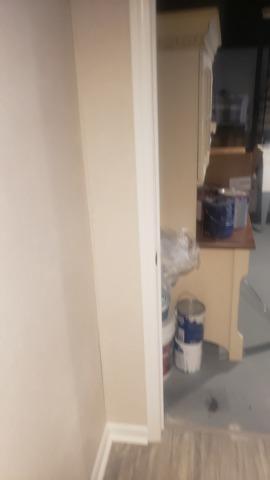
Our Installation Crew is installing trim, the basement is nearly finished.
Nearly Finished
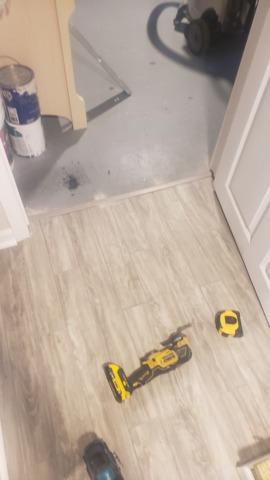
The Thermal Dry Elite Plank Floor has been installed, our Installation Crew is putting a transition strip between the new floor and the original cement floor in the laundry area.
Nearly Finished
Our Installation Crew is installing trim, the basement is nearly finished.
Nearly Finished
Our Installation Crew is installing trim, the basement is nearly finished.
Nearly Finished
Our Installation Crew is installing trim, the basement is nearly finished.
The SaniDry Dehumidifier
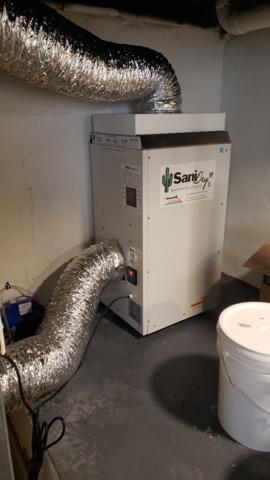
The homeowners chose to have a SaniDry Dehumidifier installed as part of their basement finishing project. The SaniDry Dehumidifier is energy-efficient, self-draining, and has an air filter on it that can increase the quality of the air in your basement as well as your whole home.
The SaniDry Dehumidifier
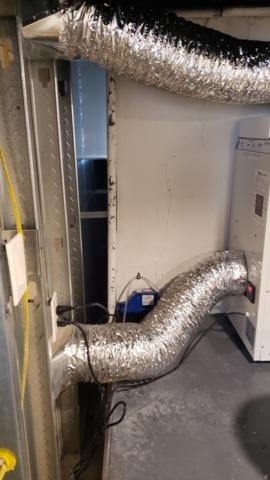
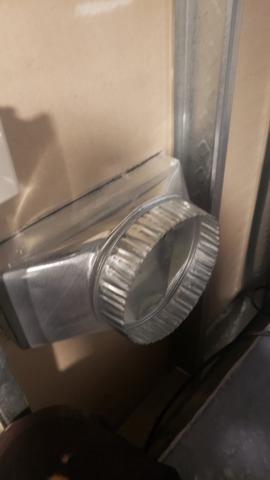
The SaniDry Dehumidifier hook-up.
The SaniDry Dehumidifier
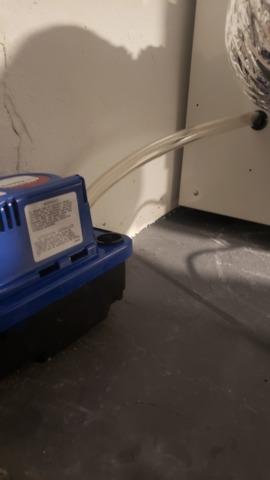
The SaniDry Dehumidifier hook-up.
The SaniDry Dehumidifier
The self-draining part of the SaniDry Dehumidifier.
Installing A Storage Closet
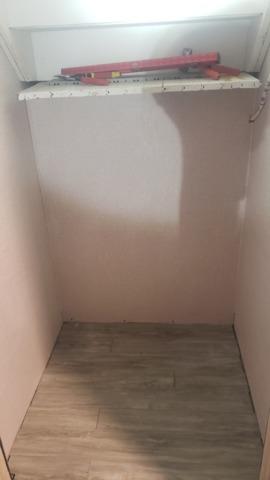
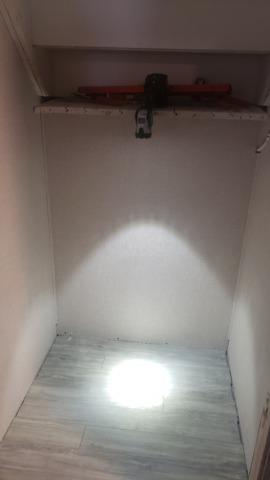
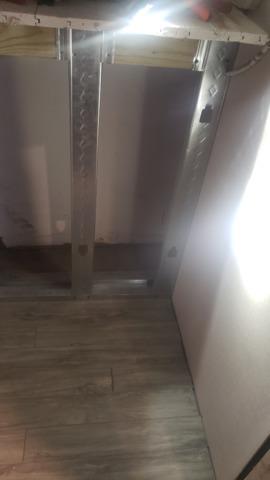
Creating the storage closet next to the stairs. Our Installation Crew framed out and installed our EverLast Thermal Dry Wall Panels to create the closet. They also put in a shelf at the homeowner's request.
Installing A Storage Closet
Creating the storage closet next to the stairs. Our Installation Crew framed out and installed our EverLast Thermal Dry Wall Panels to create the closet.
Installing A Storage Closet
Creating the storage closet next to the stairs. Our Installation Crew framed out and installed our EverLast Thermal Dry Wall Panels to create the closet.
Finishing Around the Egress Window
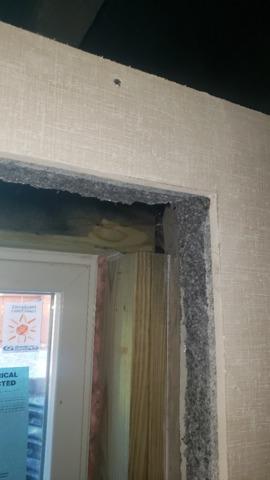
The EverLast Wall Panel has been cut to fit around the new Egress Window. The wooden frame will be finished with smaller pieces of our EverLast Panels and will look seamless when finished.
The Egress Window
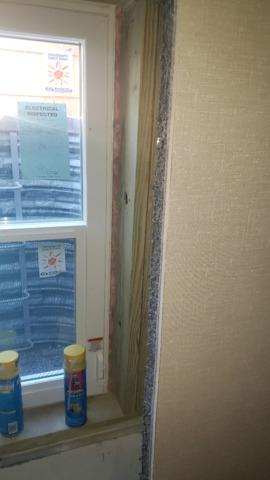
The area around the frame of the egress window will be finished to the EverLast Wall Panel when the basement is fully finished.
Finishing The Stairwell
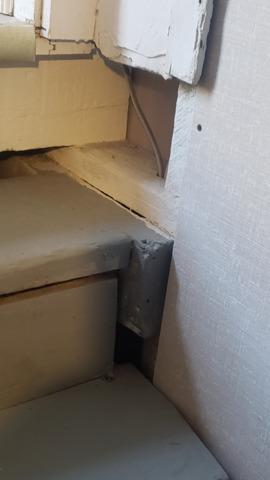
The EverDry Wall Panels have been installed up the stairs, there is a small gap by the door frame, this will be finished with a small piece of our wall panel when the basement is fully finished.
Installing The Thermal Dry Elite Plank Floor
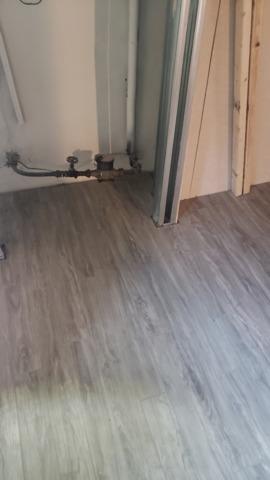
The homeowners chose to have our Thermal Dry Elite Plank Floor, in grey, installed in their basement. Our crew has nearly finished installing it in this picture.
Installing The Thermal Dry Elite Plank Floor
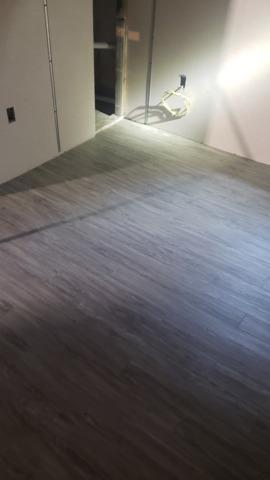
The homeowners chose to have our Thermal Dry Elite Plank Floor, in grey, installed in their basement. Our crew has nearly finished installing it in this picture.
Installing The Thermal Dry Elite Plank Floor
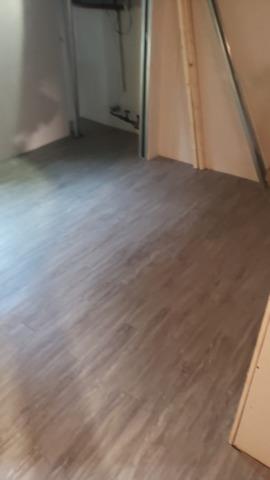
The homeowners chose to have our Thermal Dry Elite Plank Floor, in grey, installed in their basement. Our crew has nearly finished installing it in this picture.
Installing The Thermal Dry Elite Plank Floor
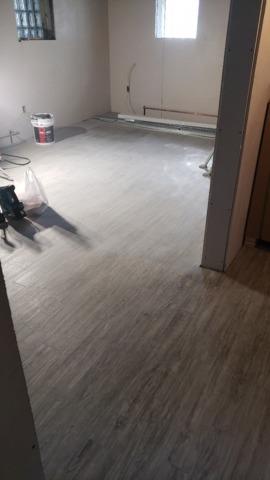
The homeowners chose to have our Thermal Dry Elite Plank Floor, in grey, installed in their basement. Our crew has nearly finished installing it in this picture.
Installing The Thermal Dry Elite Plank Floor
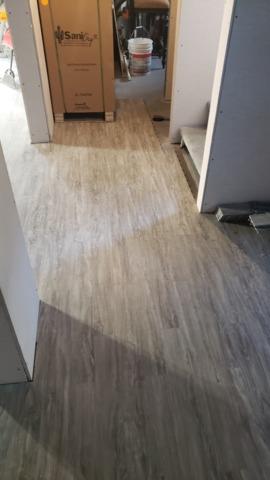
The homeowners chose to have our Thermal Dry Elite Plank Floor, in grey, installed in their basement. Our crew has nearly finished installing it in this picture.
Installing The Thermal Dry Elite Plank Floor
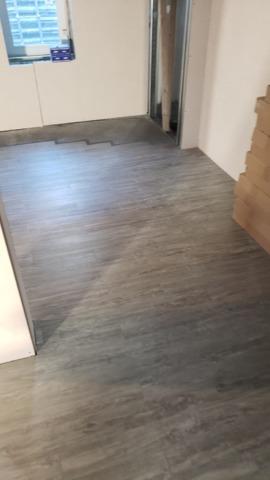
The homeowners chose to have our Thermal Dry Elite Plank Floor, in grey, installed in their basement. Our crew has nearly finished installing it in this picture.
Installing The Thermal Dry Elite Plank Floor
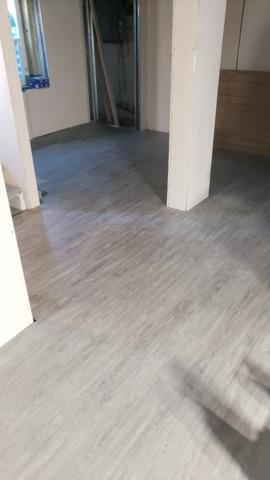
The homeowners chose to have our Thermal Dry Elite Plank Floor, in grey, installed in their basement. Our crew has nearly finished installing it in this picture. You can also see the pole wraps that were installed in this picture. There will be trim installed at the top and bottom of both the poles and the walls.
Installing The Thermal Dry Elite Plank Floor
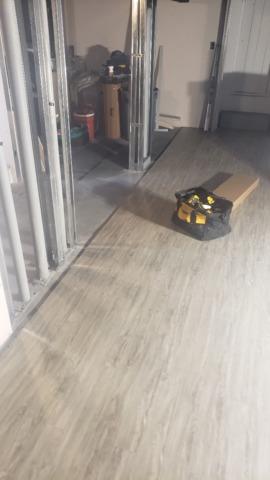
The homeowners chose to have our Thermal Dry Elite Plank Floor, in grey, installed in their basement. Our crew has nearly finished installing it in this picture. You can also the the framework where another wall will soon be installed.
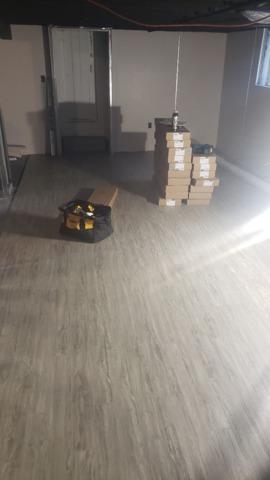
Intalling The Thermal Dry Elite Plank Flooring
The homeowners chose to have our Thermal Dry Elite Plank Floor, in grey, installed in their basement. Our crew has nearly finished installing it in this picture.
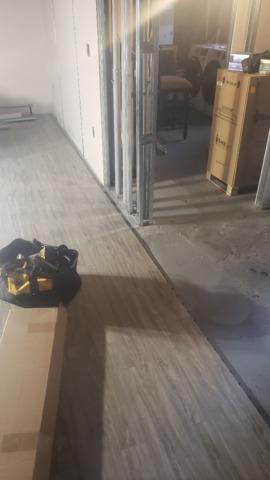
Intalling The Thermal Dry Elite Plank Flooring
The homeowners chose to have our Thermal Dry Elite Plank Floor, in grey, installed in their basement. Our crew has nearly finished installing it in this picture. Here you can also see the frame for another of our EverLast Wall Panels to be put on. There will be a door next to this panel, so it has to be cut to fit.
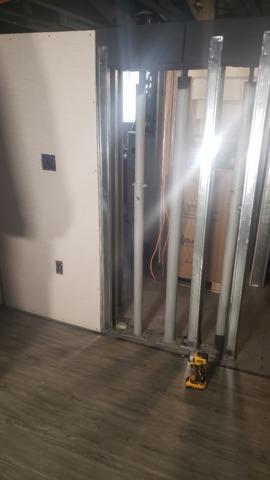
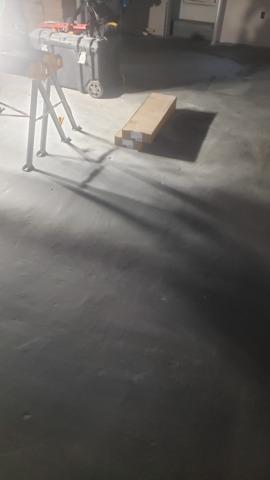
Installing The Thermal Dry Elite Plank Floor
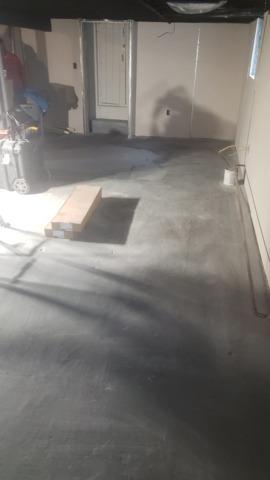
The Thermal Dry Elite Plank Floor is half installed in this picture, and you can see the boxes with the next set of planks in them. The planks interlock so there are not spaces between them, and are raised so there is a thermal break between the top of the panel and the cement floor. This provides a level of insulation on the floors.
Installing The Thermal Dry Elite Plank Floor
The Thermal Dry Elite Plank Floor is half installed in this picture, and you can see the boxes with the next set of planks in them. You can also see the EverLast Walls that have been installed.
Installing The Thermal Dry Elite Plank Flooring
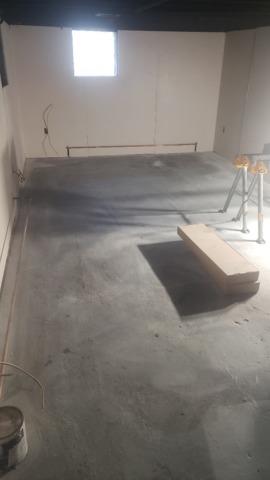
The floors have been prepped and the crew will soon be installing the Thermal Dry Elite Plank Flooring. It is extremely durable and easy to clean. It has a fantastic wood finish that looks so much better than bare concrete.
Installing The EverLast Wall Panels
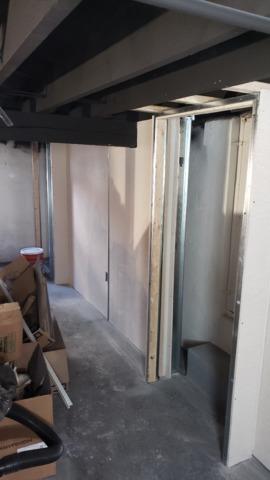
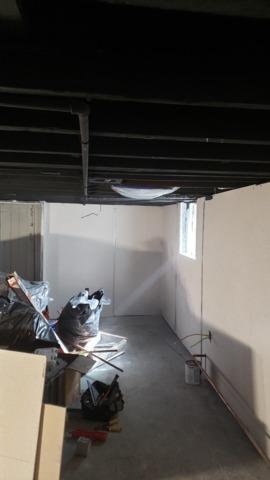
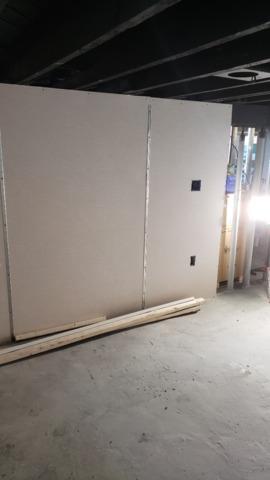
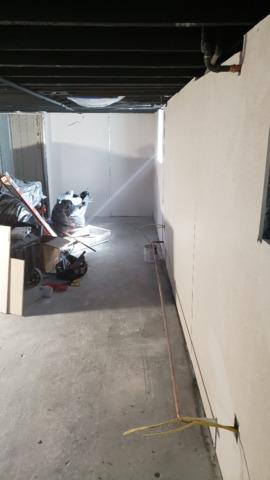
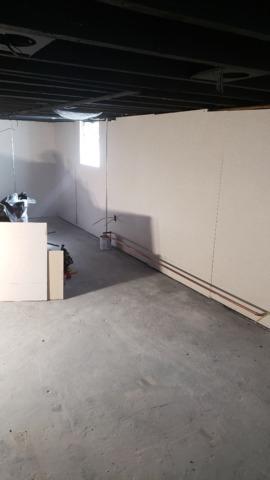
The EverLast Wall Panels have been installed, there will be a sealing strip put between each panel which helps keep any moisture on the outside of the panels.
Installing The EverLast Wall Panels
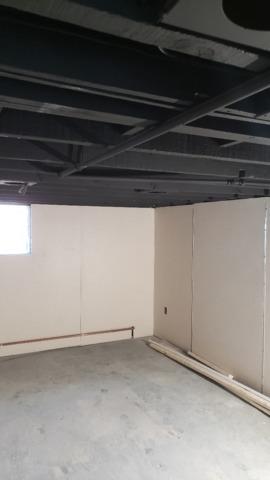
The EverLast Wall Panels have been installed, there will be a sealing strip put between each panel which helps keep any moisture on the outside of the panels. You can see where a hole for an outlet has been cut in one of the panels.
Installing The EverLast Wall Panels
The EverLast Wall Panels have been installed, there will be a sealing strip put between each panel which helps keep any moisture on the outside of the panels. You can see where a hole for an outlet has been cut in one of the panels.
Installing The EverLast Wall Panels
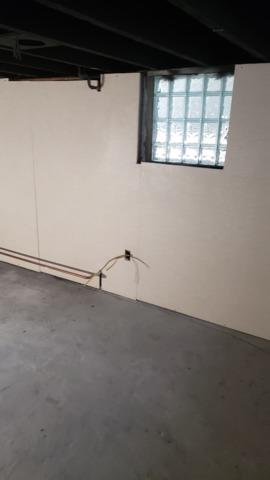
The EverLast Wall Panels have been installed, there will be a sealing strip put between each panel which helps keep any moisture on the outside of the panels. You can see where a hole for an outlet has been cut in one of the panels and another for the electric switches.
Installing The EverLast Wall Panels
The EverLast Wall Panels have been installed, there will be a sealing strip put between each panel which helps keep any moisture on the outside of the panels. You can see where a hole for an outlet has been cut in one of the panels.
Installing The EverLast Wall Panels
The EverLast Wall Panels have been installed, there will be a sealing strip put between each panel which helps keep any moisture on the outside of the panels. You can see where a hole for an outlet has been cut in one of the panels. There also is a bar cut through it for baseboard heating.
Installing The EverLast Wall Panels
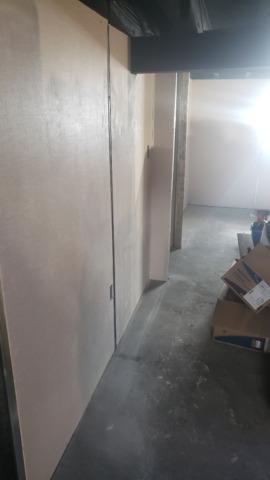
The EverLast Wall Panels have been installed, there will be a sealing strip put between each panel which helps keep any moisture on the outside of the panels.
Installing The EverLast Wall Panels
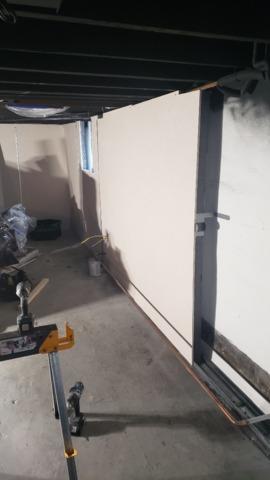
The Installation Crew is putting up the EverLast Wall Panels. You can see how to think the insulation is on them, and the thermal break between the wall and the original concrete.
Installing The EverLast Wall Panels
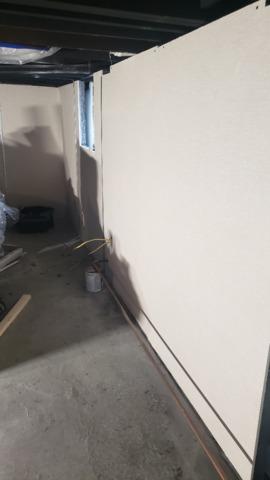
The EverLast Wall Panels have been installed, there will be a sealing strip put between each panel which helps keep any moisture on the outside of the panels.
Installing The EverLast Wall Panels
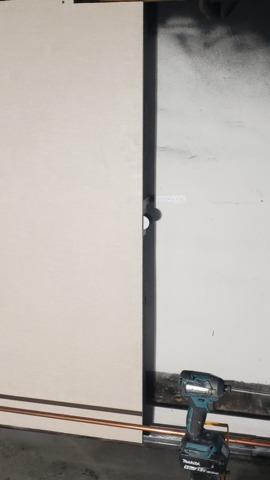
The EverLast Wall Panels are being installed. You can see the bar for the baseboard heat at the bottom, and the difference between the smooth EverLast Wall Panel and the bare cement wall.
Installing The EverLast Wall Panels
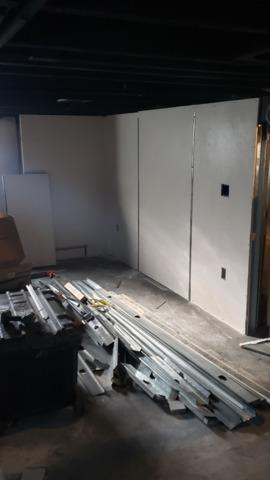
The EverLast Wall Panels have been installed, there will be a sealing strip put between each panel which helps keep any moisture on the outside of the panels. You can see where a hole for an outlet has been cut in one of the panels. More frame pieces have been piled neatly to be installed the next day.
Installing The EverLast Wall Panels
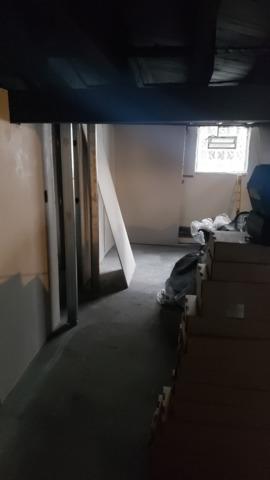
The Installation Crew is starting to put up the EverLast Wall Panels.
Framing The Walls, And Installing The EverLast Wall Panels
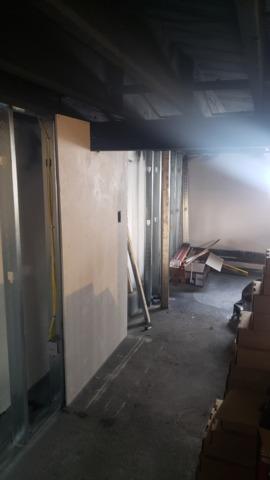
The Installation Crew is starting to put up the EverLast Wall Panels. You can see the framed wall that is ready for more panels to be installed.
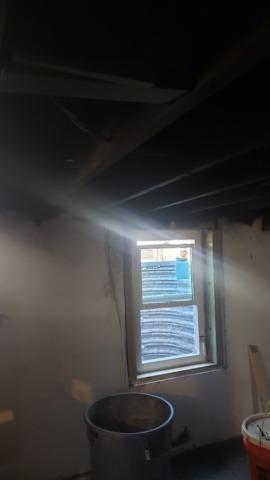
Installing the EverLast Wall Panels Around The Egress Window
The Installation Crew is starting to put up the EverLast Wall Panels. You can see how they fit neatly around the Egress Window.
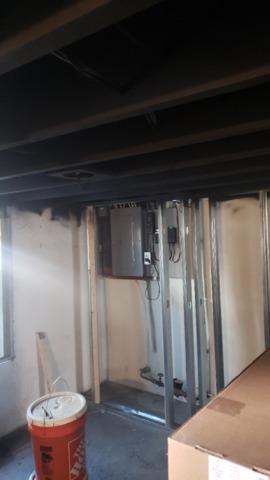
Framing The Utility Closet
The Installation Crew is framing a utility closet around the electric box. This will be easily accessible in the finished basement through one of our 6 Panel Doors.
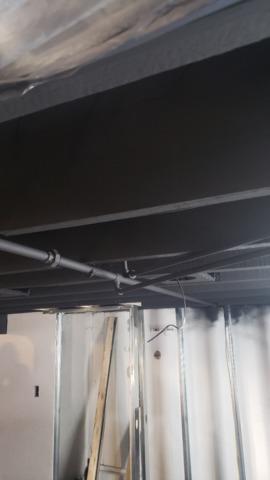
The Painted Ceiling And Framed Wall
The Installation Crew is framing the wall next to an installed EverLast Wall Panel. They previously painted the ceiling black.
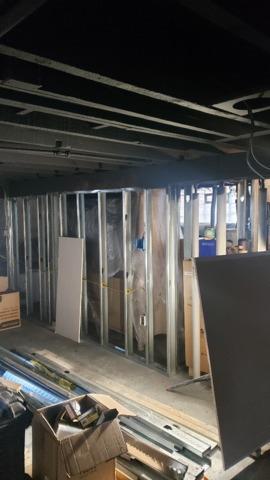
Framing The New Walls
The Installation Crew is framing a new wall that will separate the laundry area from the family room.
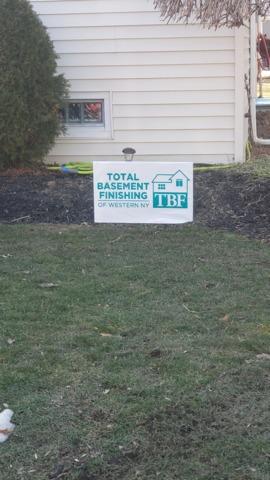
Total Basement Finishing Sign Outside The House
We take great pride in our work and place one of our Total Basement Finishing signs outside of the home when we are working in the basement.
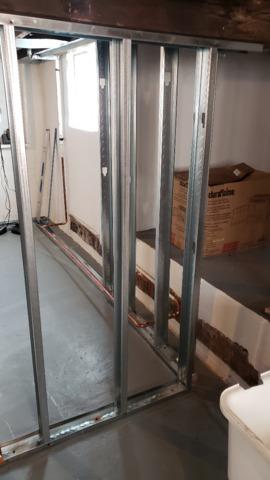
Framing The New Walls
The Installation Crew is framing one of the new walls.
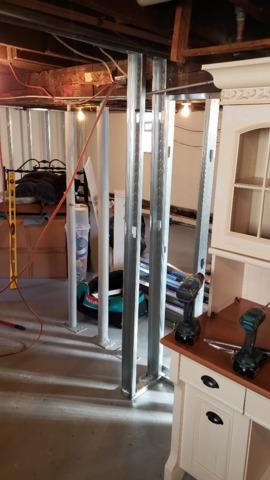
Framing The New Walls
The Installation Crew is framing the wall between the family room and the unfinished storage area.
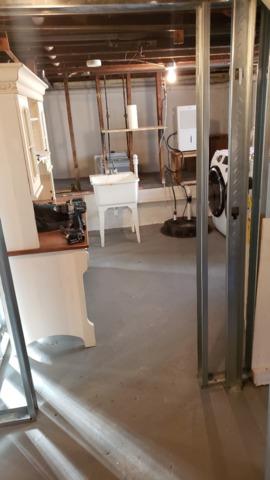
Framing The New Walls
The Installation Crew is framing the wall between the family room and the unfinished storage area.
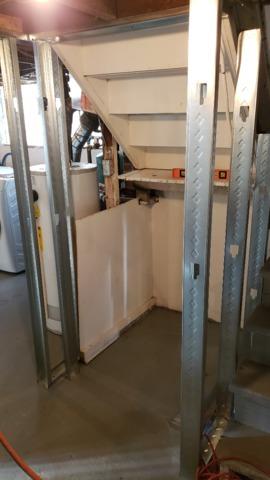
Framing The New Walls
The Installation Crew is framing the walls for the storage area under the stairs.
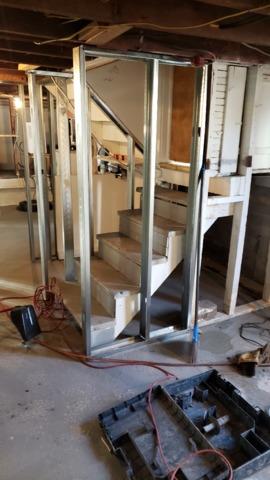
Framing The New Walls
The Installation Crew is framing the walls around the stairs from the main floor of the house.
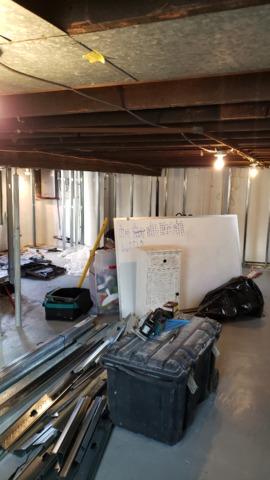
Framing The New Walls
The Installation Crew is framing one of the walls, they have new materials neatly stacked in the middle of the room, ready to be installed.
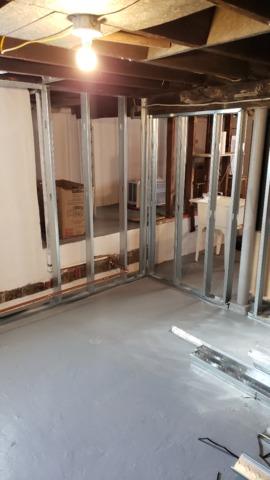
Framing The New Walls
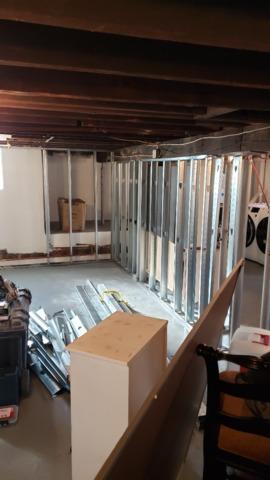
The Installation Crew is framing the wall between the family room and the unfinished laundry area.
Framing The New Walls
The Installation Crew is framing the wall between the family room and the unfinished laundry area. They have new materials neatly stacked in the middle of the room, ready to be installed.
Framing The New Walls
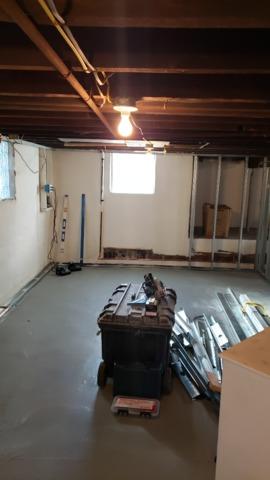
The Installation Crew is framing the new wall. They have new materials neatly stacked in the middle of the room, ready to be installed.
Framing The New Walls
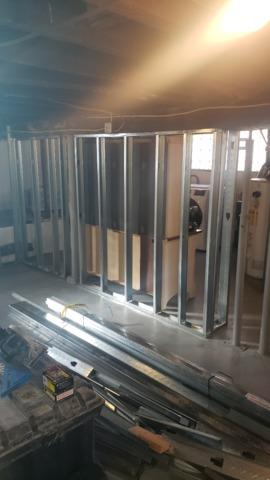
The Installation Crew is framing the wall between the family room and the unfinished laundry area. They have new materials neatly stacked in the middle of the room, ready to be installed.
The Materials
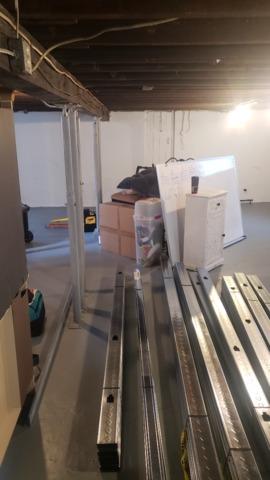
The materials to frame the wall and start installing the EverLast Wall Panels are neatly piled and ready to be installed.
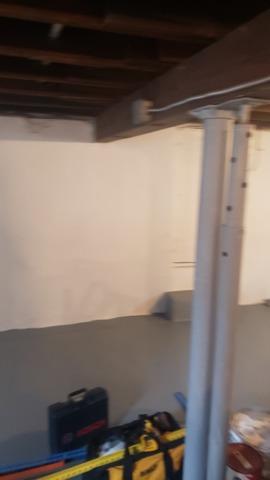
Before Photo
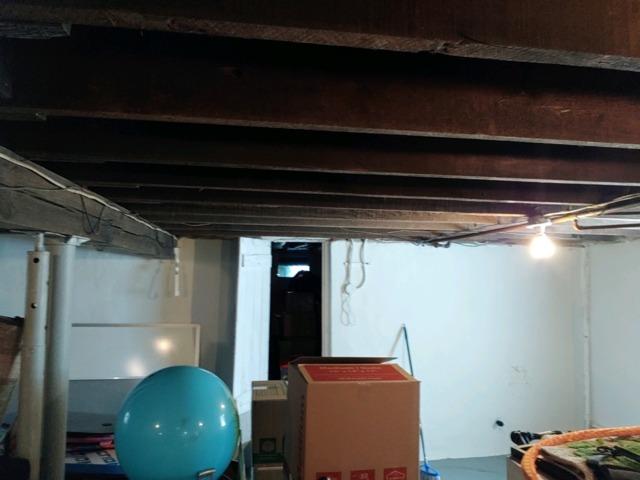
It is rare to have a double support pole in a basement. Our Installation Crew installed a wide pole wrap around both poles so there was only one larger pole when finished.
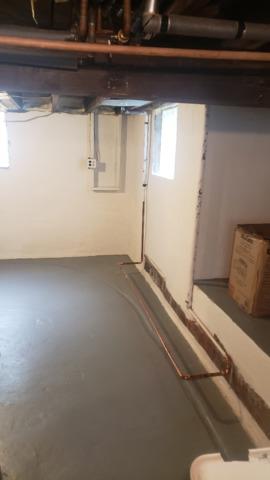
Before Photo
The blank basement, ready to have the frames for the new walls installed.
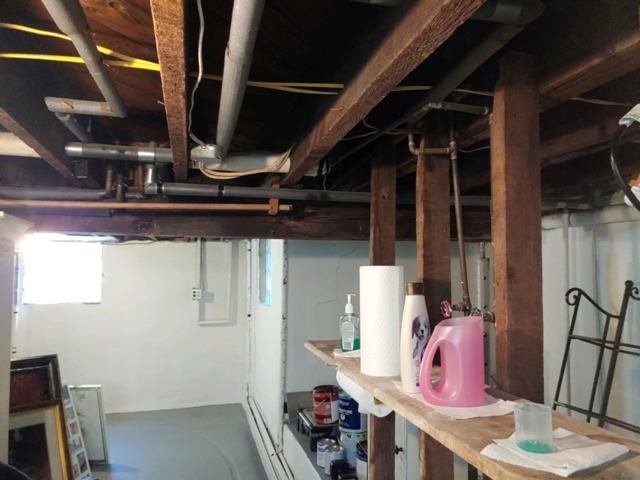
Before Photo
The basement before we started the refinishing work.
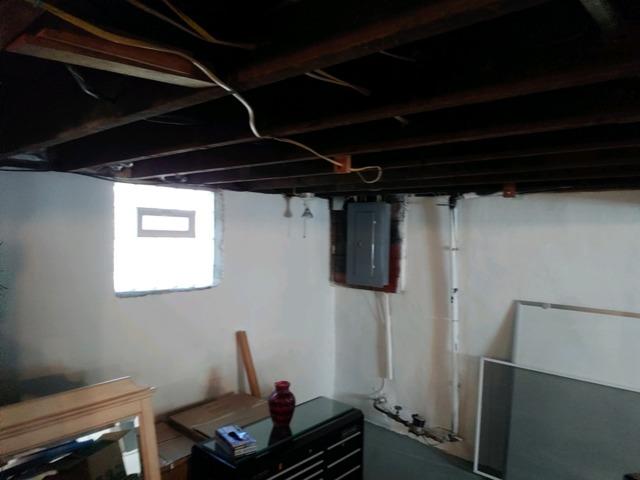
Before Photo
The basement before we started the refinishing work.
Before Photo
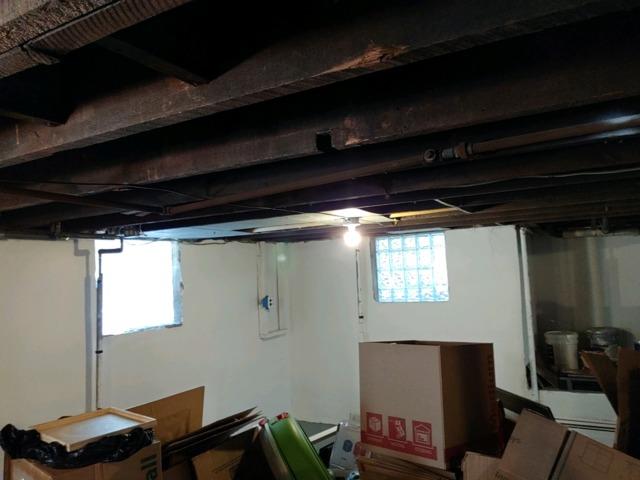
The basement before we started the refinishing work.
Before Photo
The basement before we started the refinishing work.
