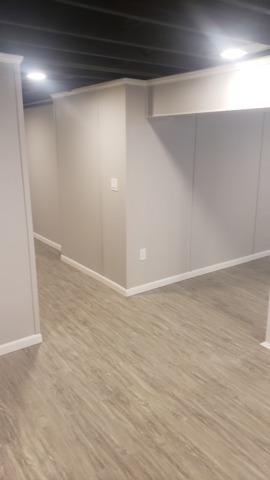
The Finished Basement
Our EverLast Wall Panels, Thermal Dry Elite Plank Flooring, and the painted ceiling complete this basement renovation and leave it looking fresh and beautiful.
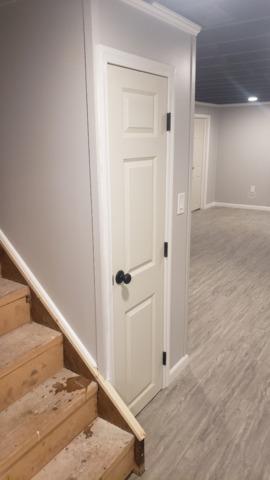
The Finished Basement
A new storage area in this basement will keep things accessible but out of the way for the family.
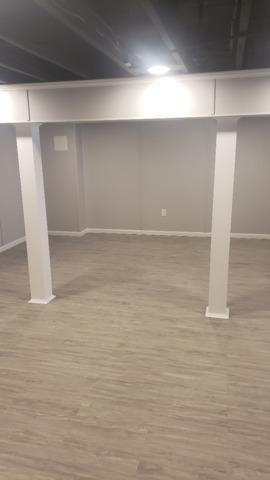
The Finished Basement
Boxing out around the support beam covers an unsightly feature and lets it blend with the walls. It really creates a designer look in the space.
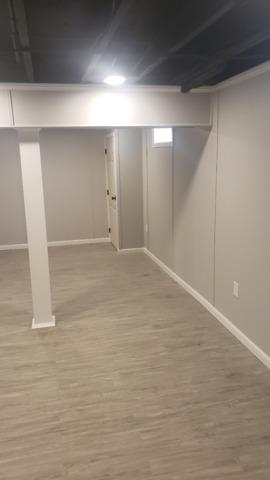
The Finished Basement
Boxing out around the support beam covers an unsightly feature and lets it blend with the walls. It really creates a designer look in the space.
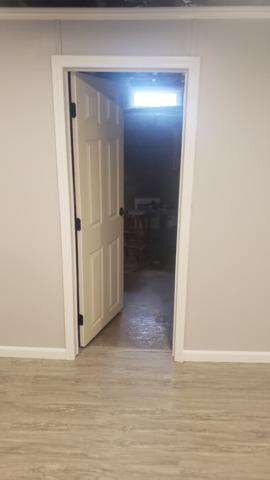
The Finished Basement
The homeowners left about half of their basement unfinished as storage, it's a great compromise to make both fun space and utility in the basement.
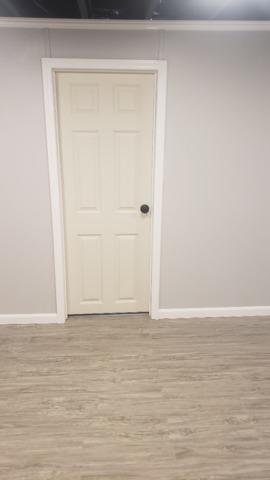
New Doors In The Basement
New doors in the basement help keep consistency with the design of the space and look good. Our 6-panel doors are a timeless design.
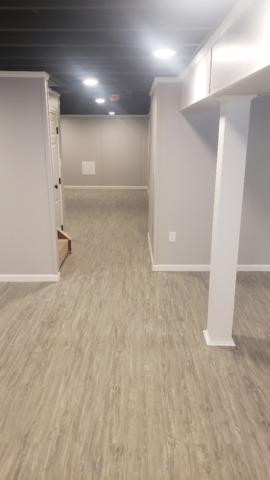
The Finished Basement
Boxing out around the support beam covers an unsightly feature and lets it blend with the walls. It really creates a designer look in the space.
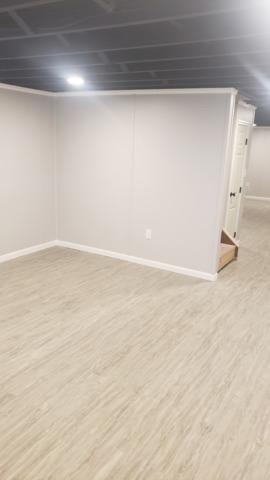
The Finished Basement
Our EverLast Walls and Thermal Dry Elite Plank Floors make this a bright space and elevate this part of the basement to look like another room in the house.
The Finished Basement
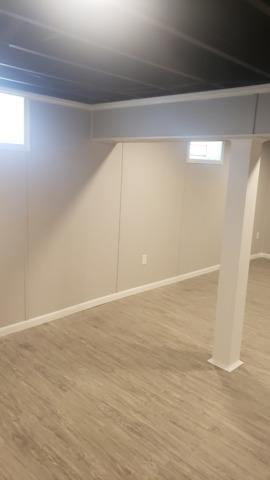
Boxing out around the support beam covers an unsightly feature and lets it blend with the walls. It really creates a designer look in the space. We also work to finish the area around your basement windows so they blend in with the EverLast Wall Panels and have a smooth finish.
The Finished Basement
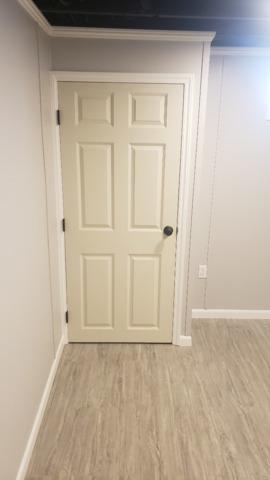
New doors in the basement help keep consistency with the design of the space and look good. Our 6-panel doors are a timeless design.
Utility Closet In The Finished Basement
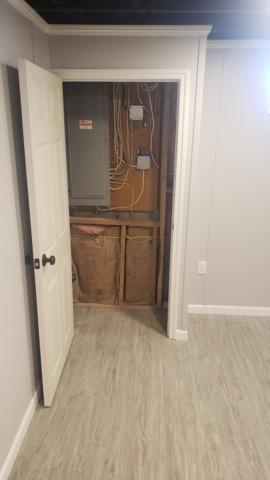
We love being able to make a utility closet around unsightly areas in a basement. It lets homeowners really use the space that they have the way that they want to as it covers unsightly things like sump pumps and electric boxes.
The Finished Basement
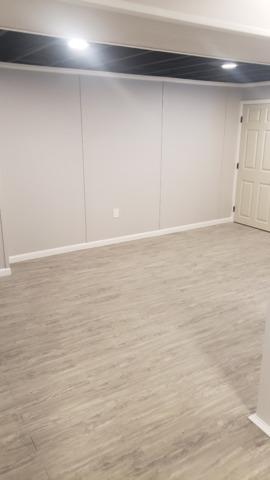
Our EverLast Wall Panels and the Thermal Dry Elite Floor make this space a stunning room in the home. You can see the base of a pole wrap on the lower right side of the photo.
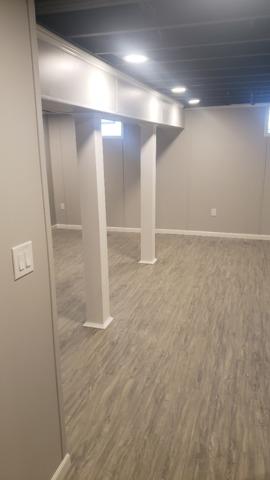
The Finished Basement
Our EverLast Wall Panels, and Thermal Dry Elite Plank Floors make this basement look bright, and the painted ceiling adds an illusion of height. The pole wraps and the box out around the support beam are nice touches that really finish the basement and create a comfortable room.
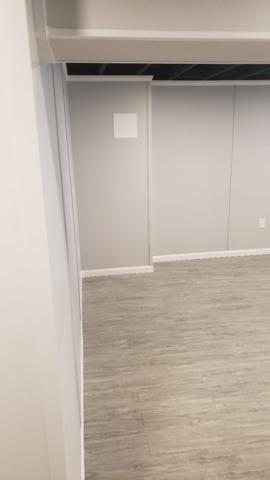
The Finished Basement
Our EverLast Wall Panels, and Thermal Dry Elite Plank Floors are a great investment in your home, they are durable, easy to clean, and have a modern finish that drywall and linoleum don't.
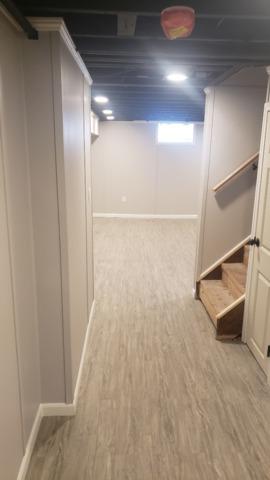
The Finished Basement
We love elevating a basement to a perfect room in the. Finishing the wall up the stairwell without EverLast Wall Panels as we did here helps with that.
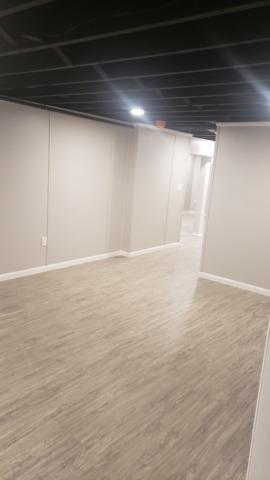
The Finished Basement
The crown trim and kick plate trim are on, and this basement is finished.
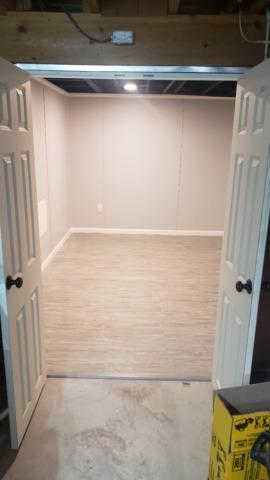
Double Doors To The Laundry Area
The homeowners wanted double doors going into their laundry area, it creates a simple but dramatic element in their basement, and is very functional to help get larger pieces into and out of the area.
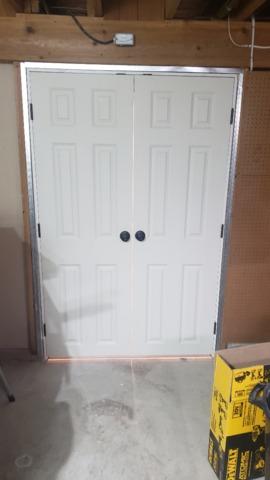
Double Doors Into The Laundry Area
The homeowners wanted double doors going into their laundry area, it creates a simple but dramatic element in their basement, and is very functional to help get larger pieces into and out of the area. The double doors have the same 6-panel design as our single doors do.
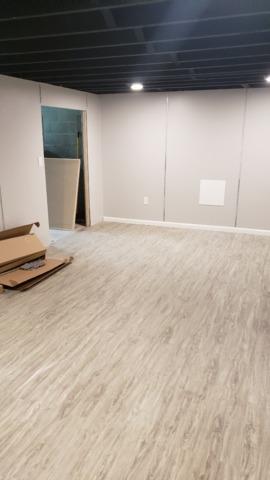
Nearly Finished
The basement is nearly finished, our Installation Crew has installed the EverLast Wall Panels, the Thermal Dry Elite Plank Floors, and painted the ceiling. They need to install the spacers between the panels, the trim, doors, and switch plates and this basement will be finished.
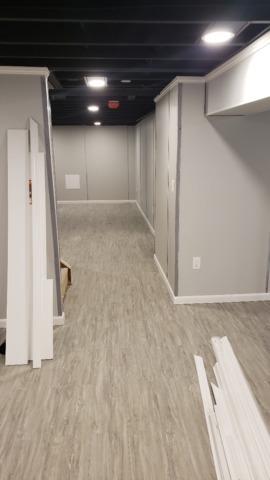
Nearly Finished
You can see the basement is nearly finished here. Our Installation Crew has trim lined up and ready to install.
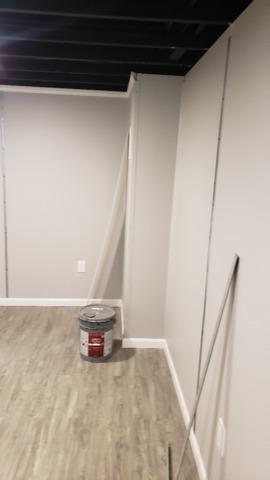
Nearly Finished
The basement is nearly finished, our Installation Crew has installed the EverLast Wall Panels, the Thermal Dry Elite Plank Floors, and painted the ceiling. They need to install the spacers between the panels, the trim, doors, and switch plates and this basement will be finished.
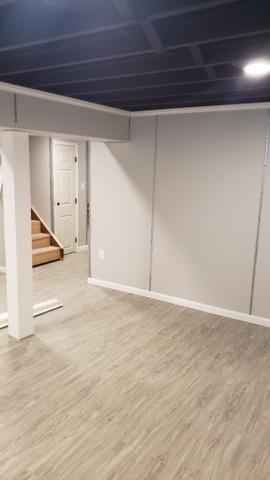
Nearly Finished
The basement is nearly finished, our Installation Crew has installed the EverLast Wall Panels, the Thermal Dry Elite Plank Floors, and painted the ceiling. They need to install the spacers between the panels, the trim, doors, and switch plates and this basement will be finished.
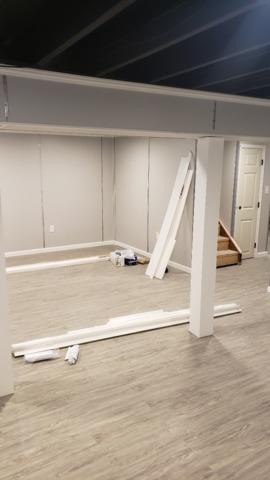
Nearly Finished
The basement is nearly finished, our Installation Crew has installed the EverLast Wall Panels, the Thermal Dry Elite Plank Floors, and painted the ceiling. They need to install the spacers between the panels, the trim, doors, and switch plates and this basement will be finished. The trim is all lined up and ready to be installed. This basement will be finished soon!
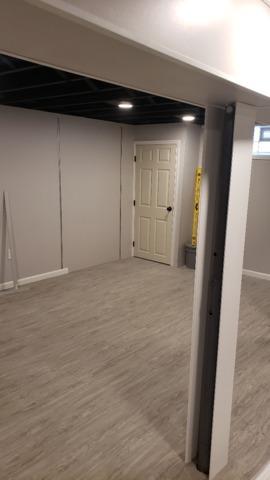
Installing The Pole Wrap
We don't often show how the pole wraps look while being installed, they are pretty cool. They create a clean box around the support pole and normally have a tight fit around it.
Nearly Finished
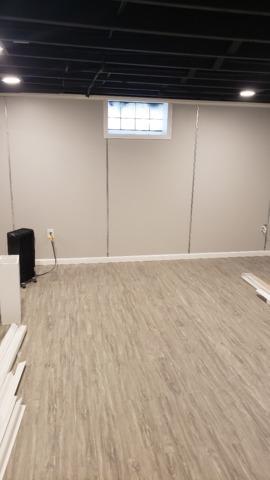
The basement is nearly finished, our Installation Crew has installed the EverLast Wall Panels, the Thermal Dry Elite Plank Floors, and painted the ceiling. They need to install the spacers between the panels, the trim, doors, and switch plates and this basement will be finished.
Nearly Finished
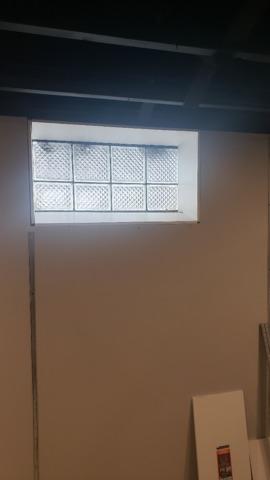
Part of the finishing that we do is to finish around your current windows. We make sure that the windows are boxed out to match the EverLast Wall Panels so there is a cohesive look to the space. This looks a little deep but it gives a great level of insulation to the basement.
Installing the Basement Floor
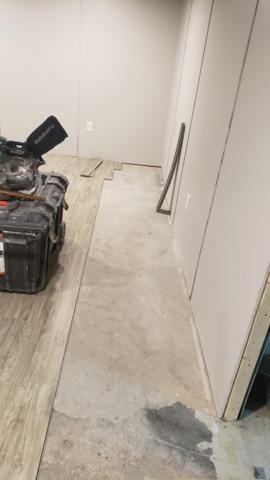
Our Installation Crew is putting in the Thermal Dry Elite Plank Floor. This will go wall to wall and have trim at the edge. It looks very high-end compared to just having a concrete or epoxy floors.
Installing The Basement Floor
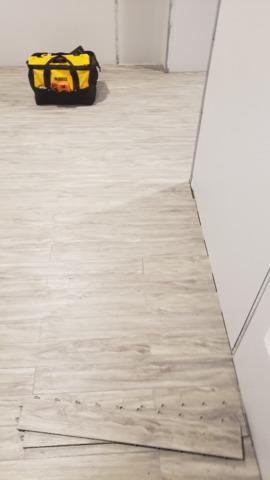
Our Installation Crew is putting in the Thermal Dry Elite Plank Floor. This will go wall to wall and have trim at the edge. It looks very high-end compared to just having a concrete or epoxy floors.
Installing The Basement Floor
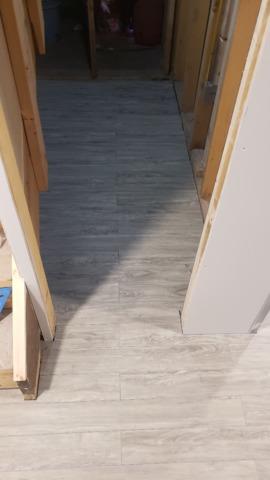
Our Installation Crew is putting in the Thermal Dry Elite Plank Floor. This will go wall to wall and have trim at the edge. It looks very high-end compared to just having concrete or epoxy floors. We fit it into small spaces so there is a close fit.
Installing The Basement Floor
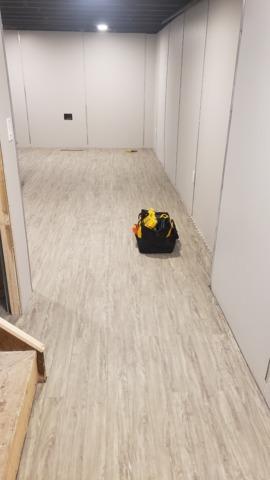
Our Installation Crew is putting in the Thermal Dry Elite Plank Floor. This will go wall to wall and have trim at the edge. It looks very high-end compared to just having concrete or epoxy floors.
Installing The Basement Floor
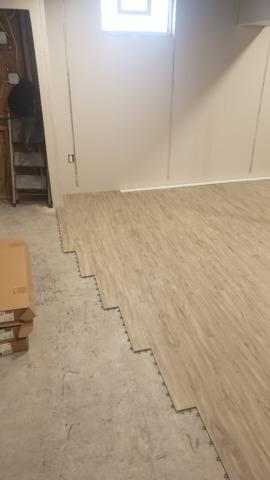
The work to install the Thermal Dry Elite Plank Floors is underway. Our Installation Crew staggers the planks so they lock together securely.
Installing the Basement Floor
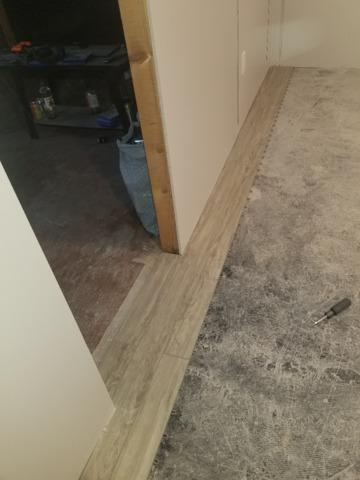
The work to install the Thermal Dry Elite Plank Floors is underway. Our Installation Crew starts at one end of the basement and works its way to the other.
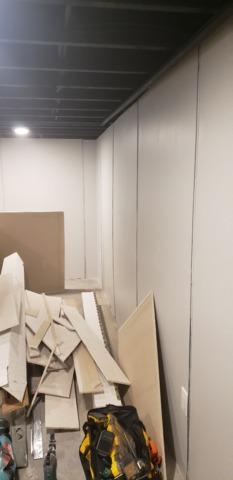
The Walls Have Been Installed
The EverLast Wall Panels have been installed throughout the basement, our Installation Crew has gathered extra materials to either be stored for smaller parts of the project (like boxing out around the windows) or to be disposed of.
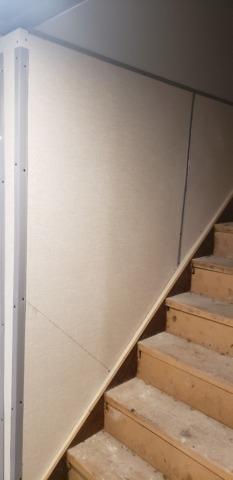
Installing A New Wall Up The Stairwell
One of the small touches that you can do to help elevate your basement into a comfortable living area is to have the walls up the stairs finished. Our EverLast Wall Panels can be cut to fit this space and they create a cohesive look from the main floor of your home through your basement.
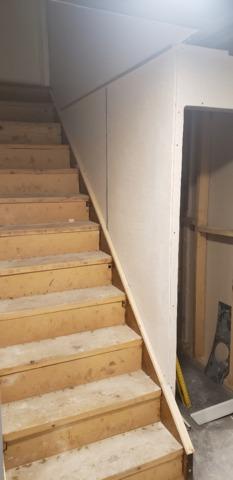
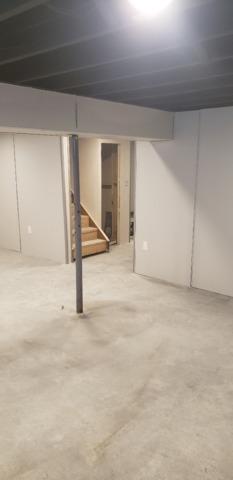
The Basement Walls Have Been Installed
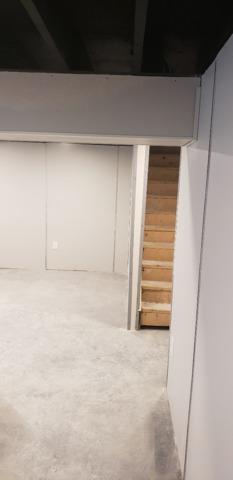
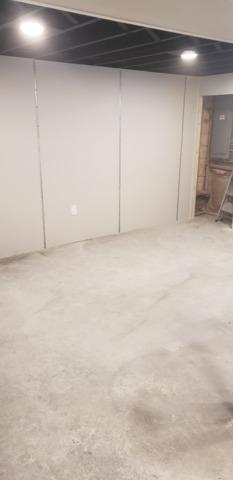
The EverLast Wall Panels have been installed! They create a clean and smooth finish in the basement but have a few more steps before they are fully finished. Our Installation Crew will be putting a small bar between the panels which will connect them. Right now they are secure and won't fall over even when pushed.
The Basement Walls Have Been Installed
You can see the smooth line that the EverLast Walls make in the basement. So much nicer than rough concrete.
The Basement Walls Have Been Installed
The EverLast Wall Panels have been installed! They create a clean and smooth finish in the basement but have a few more steps before they are fully finished. Our Installation Crew will be putting a small bar between the panels which will connect them. Right now they are secure and won't fall over even when pushed.
The Basement Walls Have Been Installed
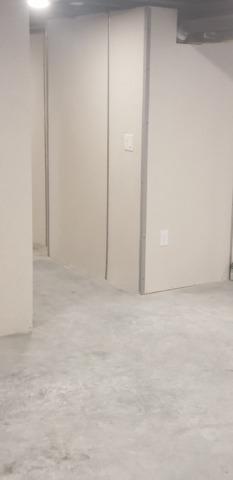
You can start to see hallways that our EverLast Wall Panels create in this picture.
The Basement Walls Have Been Installed
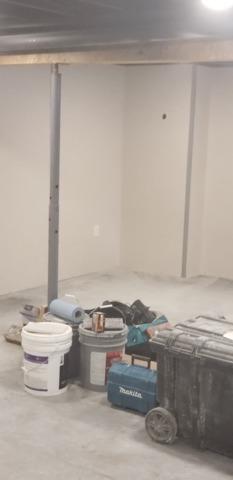
The EverLast Wall Panels have been installed! They create a clean and smooth finish in the basement but have a few more steps before they are fully finished. Our Installation Crew will be putting a small bar between the panels which will connect them. Right now they are secure and won't fall over even when pushed.
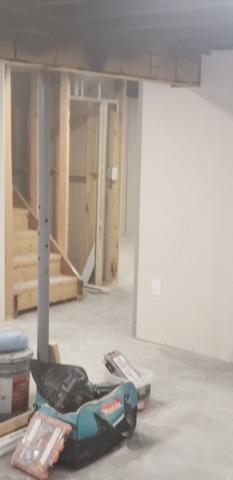
The EverLast Walls Are Being Installed
The EverLast Wall Panels have been installed! You can see how neatly they fit over the framework that the homeowners saved when they demolished the original water-damaged walls.
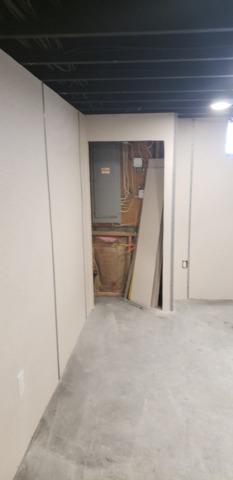
Creating A Utility Closet
When installing the EverLast Wall Panels our Installation Crew followed the design to create a utility closet around the electrical boxes. We can do a few designs around these, but with this large basement a closet fits in easily.
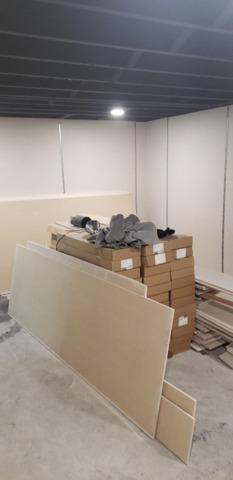
The EverLast Wall Panels Are Being Installed
These are some of our EverLast Wall Panels, these are interior panels. Our exterior panels have a layer of foam insulation on them.
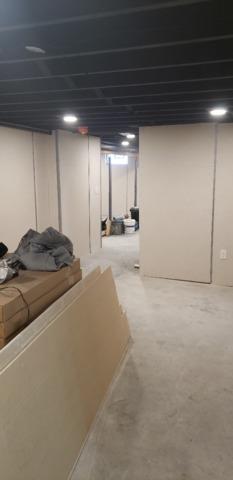
The EverLast Wall Panels Are Being Installed
These are some of our EverLast Wall Panels, these are interior panels. Our exterior panels have a layer of foam insulation on them.
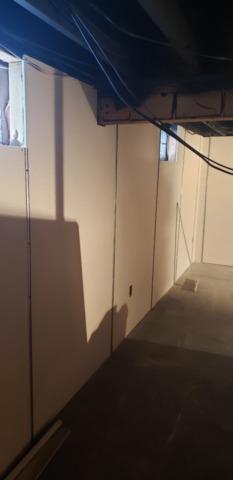
The EverLast Wall Panels Are Being Installed
The EverLast Wall Panels have been installed! You can see how neatly they fit over the framework that the homeowners saved when they demolished the original water-damaged walls.
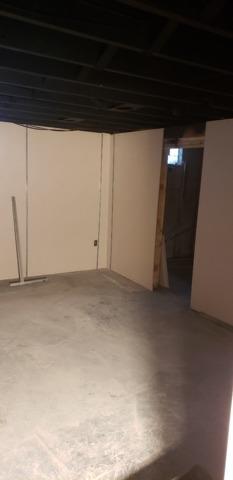
Installing The EverLast Wall Panels
The EverLast Wall Panels Are Being Installed. The basement looks a little dark right now, but soon our electrician will come and the basement will be bright again.
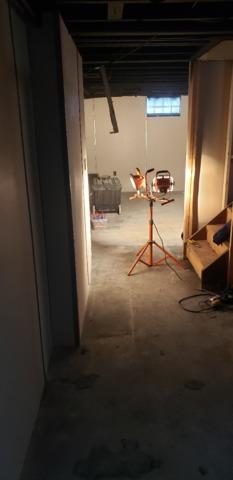
Intalling The EverLast Wall Panels
The EverLast Wall Panels Are Being Installed. The basement looks a little dark right now, but soon our electrician will come and the basement will be bright again.
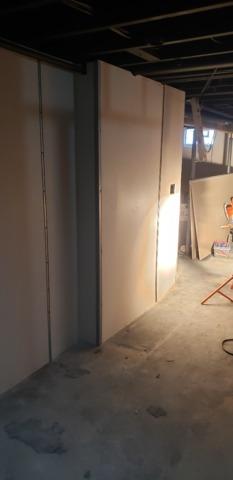
Installing The EverLast Wall Panels
The EverLast Wall Panels Are Being Installed. You can see how cleanly they fit over the framework in this picture.
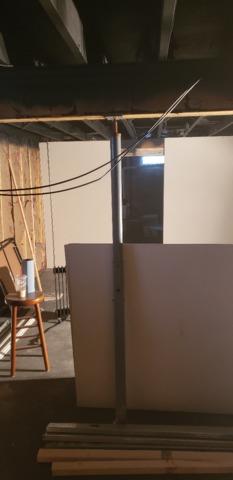
Installing The EverLast Wall Panels
The EverLast Wall Panels Are Being Installed. The panels are fairly large so our Installation Crew can cut them to fit any space.
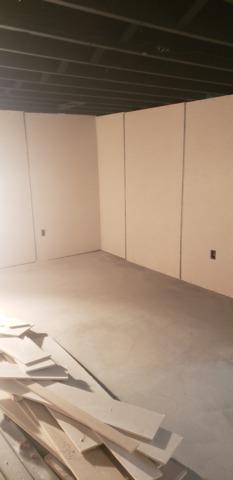
Installing The EverLast Wall Panels
The EverLast Wall Panels Are Being Installed. The basement looks a little dark right now, but soon our electrician will come and the basement will be bright again.
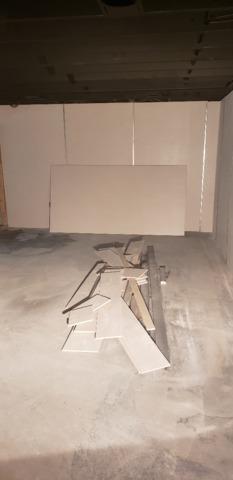
Installing The EverLast Wall Panels
The EverLast Wall Panels have been put up and secured to the frame. They create a sturdy wall that is moisture and mildew resistant. Our products will give these homeowners peace of mind for years to come.
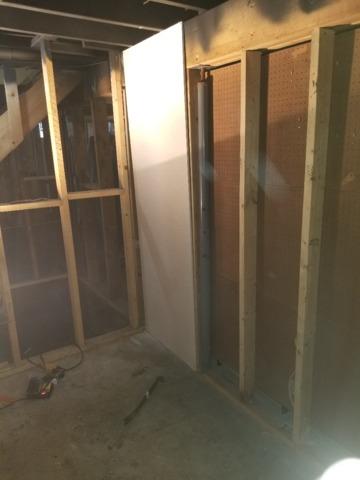
Intalling The EverLast Wall Panels
A new wall is being started!
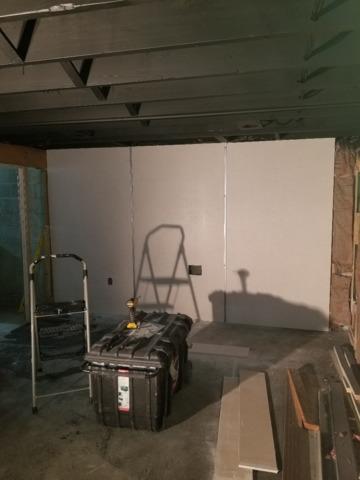
Installing The EverLast Wall Panels
This EverLast Wall has been installed! Their buff color gently reflects light and makes the basement space look brighter.
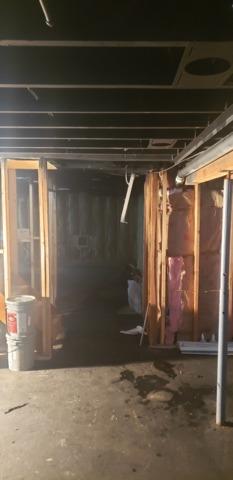
The Ceiling Has Been Painted
The ceiling has been painted and the basement is being prepped for the EverLast Walls to be installed. A painted ceiling is a great alternative to a drop ceiling if your basement isn't very high, and it looks much cleaner than open wood, metal, and pipes.
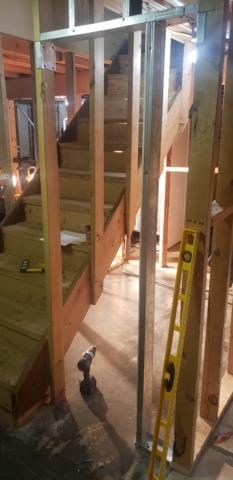
Prepping The Framework
We do not normally use wood framing in the basements that we do. The homeowners previously had a finished basement that was demolished, and they left the wood frames for the walls up. The wood was in good condition so we worked with the homeowners to incorporate it into the plans. Here our Installation Crew is creating a doorway for a small storage area.
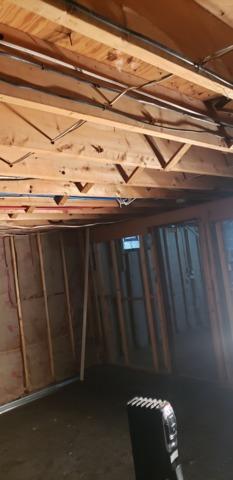
Before Photo
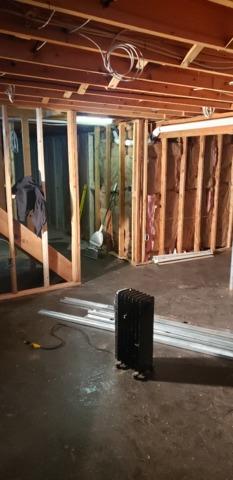
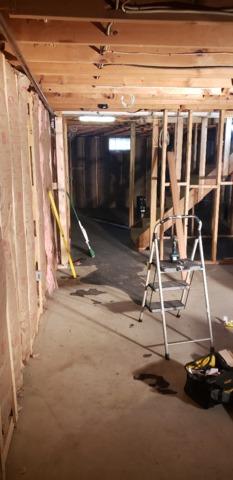
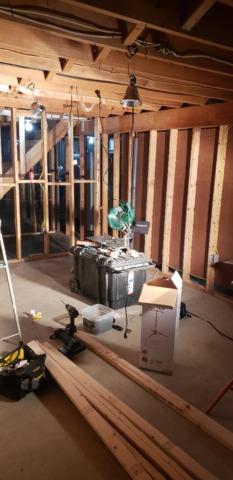
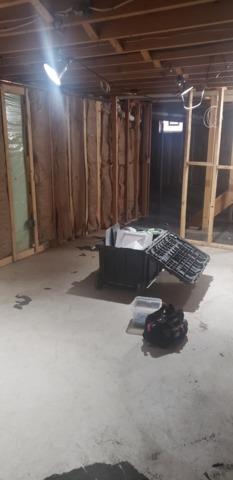
The homeowner's basement before we started working on it. Their previous finished basement had water-damaged drywall in it, so it was taken down to the framework.
Before Photo
Their previous finished basement had water-damaged drywall in it, so it was taken down to the framework.
Before Photo
Their previous finished basement had water-damaged drywall in it, so it was taken down to the framework.
Before Photo
Their previous finished basement had water-damaged drywall in it, so it was taken down to the framework.
Before Photo
Their previous finished basement had water-damaged drywall in it, so it was taken down to the framework.
